

Alfalfa Sprout Instructions
I admit, I always thought of growing your own sprouts as a hippy sort of thing to do. I wanted to just buy them in the store. But every time I bought them in a store they went moldy immediately. Finally I decided there had to be a better way.I bought a kit at WheatGrassKits.com - it was perhaps $10 for the plastic kit, then a few more dollars for a bag of alfalfa seeds.
I brought it all home and set it out. The directions were fairly good but not perfect. I thought I should document it for all of you!

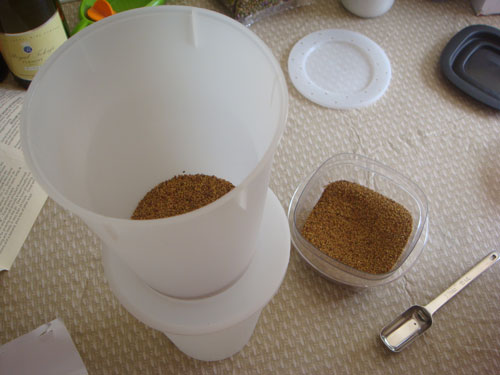
In the above image you see everything that is part of what I ordered.
There were two main pieces, in the top left. An outer container to hold everything (top center), and an inner container to hold the seeds (top left). If you had "tiny seeds" like the alfalfa there was a special insert to keep those tiny seeds from falling through the inner container's cracks. That item is in the middle right, the one that looks like a top.
In addition there were three different container covers you could choose to use. They are simply a solid cover, a cover with holes, and a cover that is dome shaped.
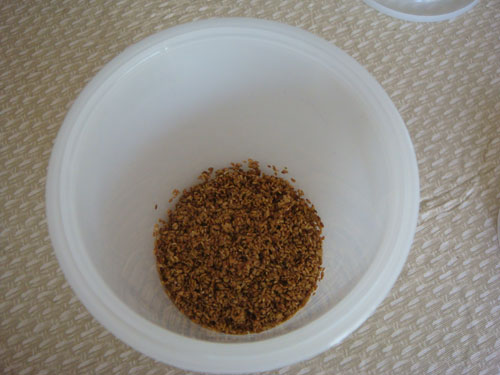
We put the "tiny seed" insert into the seed-holding inner container. We put both of those, together, into the outer container which holds everything.
Then we put a quarter cup of alfalfa seeds into the central container. In the above photo you see the "inner" container, with the insert at its bottom, and the seeds in it, sitting on top of the outer container. Next we put this inner container into the outer container it is sitting on.
We filled the entire set with warm water and let it sit for 8 hours.
Eight hours later was just after midnight on April 30th. Our task now was to "thoroughly" drain these seeds. You could think that you just shake out that inner container. But that would not be thoroughly. Here is what they want you to do, to prevent mold.
Remember, you have an inner container with holes, and an outer container with no holes. First you drain out that water as best you an by hand. Then what you do is put BOTH of them into a nylon stocking, like a woman wears. You whip it around your head maybe 20 times. The centrifugal force of the bean sprout container spinning around draws any excess water out of the inner container through the holes to the outer container. This makes sure it is really dry and doesn't get moldy. It is amazing how they figure out these things over time! It's really easy to do and it really does help a lot in our tests.
Here is what the seeds look like once they have been spun around your head like a weapon of an ancient princess smile
Now you put an open cover on it (either the flat one with holes or the domed one with holes) and let it sit for 24 hours.
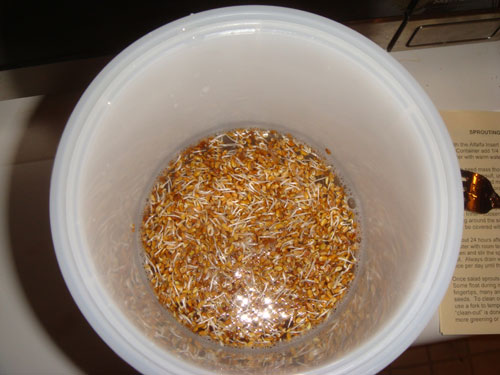
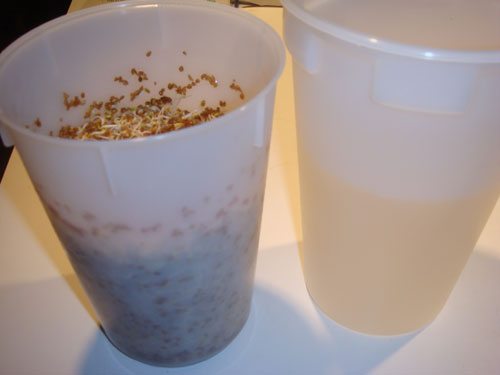
Now 24 hours after that complete drain process, it is time for the "cycle" to begin. Here is how it works. Every 12 hours from this point forward, you fill the container with room temperature water. You let it soak for maybe 10-20 minutes, to give it a water bath. Then you drain it out GENTLY. That is, you drain it by shaking it, but not by the Xena-the-Warrior-Princess method. At this point the sprouts are growing and you want to nurture them, not to traumatize them. So this is what they looked like after this first "gentle soak".
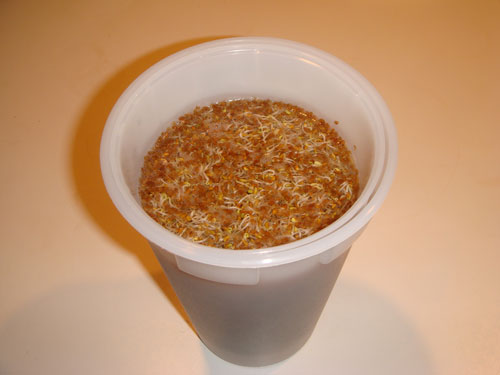
Twelve hours later we did another soak and drain. So these next pictures are from 24 hours later - i.e two cycles - where we are doing another soak and drain.
We began the process on April 29th in the afternoon. These photos are on May 2nd, just after midnight. So they are 3 1/2 days later.
When we drain the water out after the soak, we use it to water our house plants, who I am sure are very happy for the nutrient-rich water!
May 2, in the afternoon, we were already eating the sprouts! We gave a bunch to our parakeets and they LOVED it. They thought these were the best things in the world to eat.
I put a bunch on my salad, and there were still tons left of them! Talk about the cheap, fresh way to have a delicious salad!

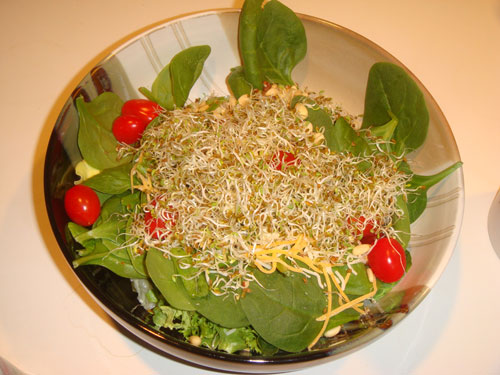
These are really tasty, and there are still tons left in the sprouting container, and everything was really cheap.
So, to summarize the steps up until now.
You buy the plastic reusable kit, really cheap. You buy the seeds.
You do a few days of soaking and growing. It is not constant attention, at most every half day you give them some water.
Then you eat them! They are very fresh, delicious, and healthy. You just grab some and put them onto a salad. Pet love them.
I will report how long they last before we have eaten them all!
An update! We've been eating the sprouts every day. Today I had a bologna and sprouts sandwich, and then sprouts with cottage cheese after that.
The sprout container is still very full! It seems as much as you take out at night, it fills up again by the morning! It's almost scary smile
Yesterday I had another bologna-and-sprout sandwich, it was very tasty. And we still have TONS of sprouts left. We definitely will make fewer next time. It is amazing how many sprouts you get from one cycle.
We bought an 8oz package of seeds for $5.22. It made a HUGE amount of sprouts for the 1/4 cup of seeds we began with. We're estimating three store-package-containers of sprouts resulted (maybe four). So the entire 8oz of seeds will make let's say 12-16 store-package-containers of sprouts.
I think when we buy those packages of 'already grown' green sprouts in our store it's about $3 but I will check the next time we go. So we are saving TONS of money doing this, it is super easy, and the sprouts are very fresh.
I.e. we pay $5.22 and that's it for the seeds. To buy this many sprouts even if it only made 12 packages of sprouts would be $36. I think it's more like 16 packages - $48.
OK I admit it. I didn't eat any sprouts today. I did feed some to the parakeets, but I am just sprouted out. And Bob is growing even more of them ...
Sprout Instructions
Alfalfa Sprout Instructions
Bean Sprout Instructions
Broccoli Sprout Instructions
Mung Bean Sprout Instructions
Sprouter Reviews
Burpee Seed Sprouter Review
Easy Sprout Sprouter Review
Buy the Easy Sprout Sprouter from Amazon.com
Environment / Green Living Tips